
Learn how to use AlertPlayer 4.x Restore IMG with step-by-step instructions. Compatible with ML210 (32 + 128 GB SSD). For updated manuals, video tutorials visit our Support Site and view our Change log of new features.
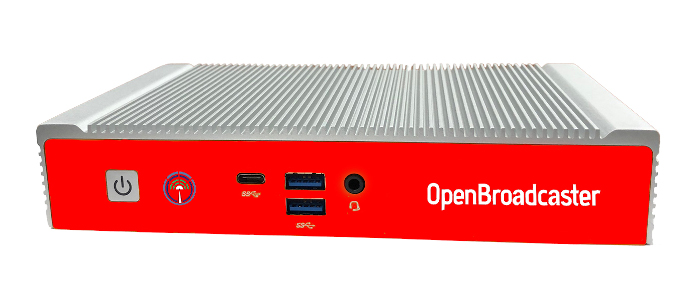
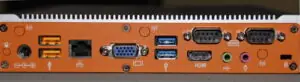
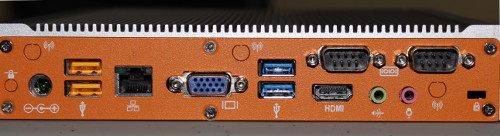
Hardware Supported
To identify, at boot F2 to enter BIOS Ver OPBR-9159_r02 CPU “Celeron J1900”
Technical Operation
- *** Always *** change the default passwords.
- Ensure there is 4″ unobstructed airflow above the Fanless AlertPlayer. Never place any objects (books, manuals or bags) on top of the unit.
- A monitor (KVM is not advised) must be attached 24/7 for continued operation.
Install the recovery ISO firmware
- Download and Copy ISO IMG file to usb stick with startup disk creator Etcher, Rufus or GNOME Disks and write the image ISO file to the USB Drive.
- Attach a Monitor, Keyboard and Network cable. Ensure no other USB devices are plugged in.
- Insert created boot USB in front port.
- Power on unit. Press F2 key to enter bios. Confirm Boot mode is set as Legacy. Arrow over to Set & Save menu and highlight booting from the USB drive. Press enter to boot machine from USB. Reimaging must be done in Legacy mode, then set to boot with UEFI.
- Clonezilla menu appears. Sit back and wait a few minutes. Doesn’t need any selections, it is automatically. You will see various screens, (including a long blank screen) it is actually doing something and eventually it will ask you twice to enter “Y” to proceed with imaging.
- When imaging is complete press “Enter” Shutdown machine and remove USB stick.
- Enable UEFI secure boot. From Bios Press F2. Arrow over to menu >Boot and boot mode to UEFI. Save and reboot.
- Machine boots up into a login screen with user = obsuser pass = obsuser.
*** Hard reset required. *** The boxes are really finicky after imaging
Once this is complete, all operations are done through the AlertPlayer’s web dashboard. http://<IP_of_Computer>:23233
Note: Until UEFI boot is enable your machine will not start and display errors about missing OS.